Mastering the A5 Bifold Brochure Mockup for Professional Presentations
Imagine you have spent hours designing a stunning brochure. The layout is crisp, the colors are vibrant, and the typography speaks directly to your audience. Now, you need to present this work to a client or showcase it on your portfolio website. If you simply upload a flat JPEG of your design, you risk losing the impact. Clients often struggle to visualize how a 2D file translates into a physical product. This is where an A5 Bifold Brochure Mockup becomes an indispensable tool. It bridges the gap between digital creation and real-world application, allowing you to display your work in a realistic 3D environment that commands attention.
However, not all mockups are created equal. Many creators rush to download free resources without understanding the technical requirements, leading to blurry images or frustrating workflows. To ensure your presentation remains professional, it is vital to understand what makes a high-quality mockup and how to utilize its features effectively. By avoiding common pitfalls, you can save time, maintain quality, and deliver a polished final result that reflects your expertise.
Understanding the Power of Smart Objects
The most critical feature of a premium mockup file is the inclusion of smart objects. In Adobe Photoshop, smart objects allow you to replace the current design with your own artwork without altering the underlying lighting, shadows, or texture of the mockup. Without this functionality, you might find yourself manually warping your design, adjusting perspective angles, or trying to match shadows by hand. This process is not only time-consuming but also prone to errors that can degrade the realism of your final image.
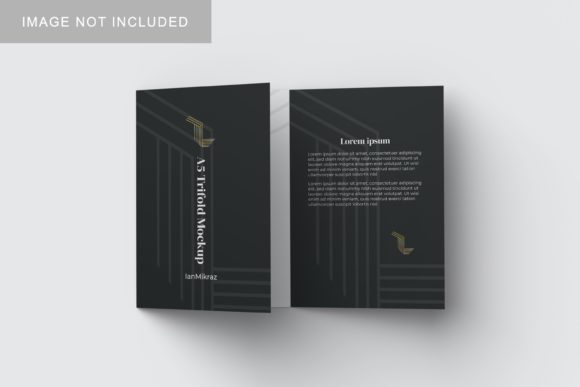
When working with an A5 Bifold Brochure Mockup, the workflow should be seamless. You open the PSD file, locate the specific smart object layer representing the front or back cover, and double-click to edit. Once you place your new design and save the changes, the mockup automatically updates. This ensures that every fold, crease, and shadow aligns perfectly with your content. For beginners, this feature eliminates the steep learning curve associated with 3D manipulation, while for professionals, it offers the efficiency needed to handle multiple projects simultaneously.
Why File Resolution Matters
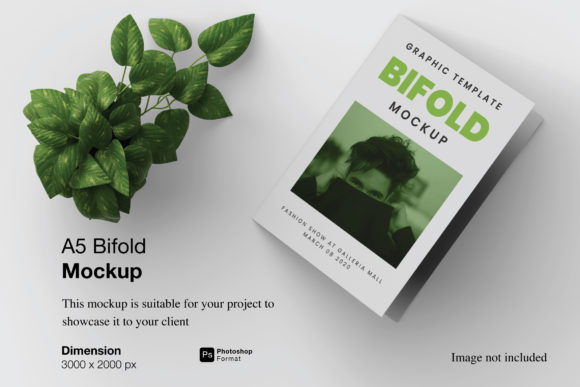
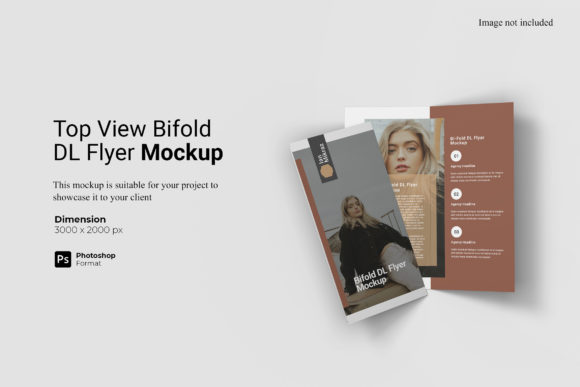
One of the most overlooked details when selecting a mockup is the resolution. A low-resolution file may look fine on a small monitor but will appear pixelated when printed or viewed on high-definition screens. Always check that the mockup is available in a size of at least 3000x2000 pixels and set to 300 dpi. This standard ensures that your images remain sharp whether they are displayed on a retina display, a large desktop monitor, or used in print marketing materials. Using a substandard mockup can inadvertently signal a lack of attention to detail, undermining the credibility of your design work.
Common Mistakes to Avoid When Using Mockups
Even with powerful tools like smart objects, users frequently make mistakes that compromise their results. Being aware of these potential issues allows you to navigate them before they affect your project.
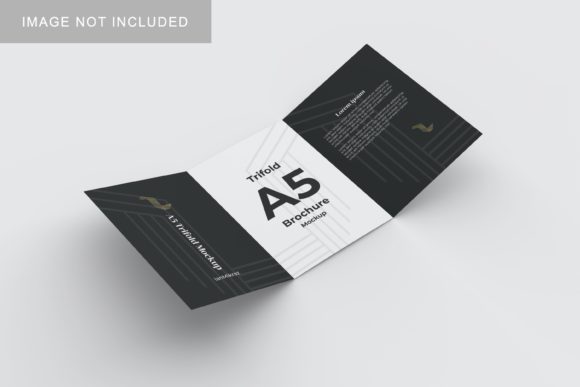
- Ignoring the Aspect Ratio: An A5 bifold brochure has specific dimensions. If your design file does not match the exact canvas size required by the mockup, your content may get cropped or stretched. Always verify the template specifications before starting your design process to ensure your text and images fit within the safe zones.
- Neglecting Color Profiles: Digital designs often use RGB color modes, while print requires CMYK. While a mockup is primarily for visual presentation, discrepancies in color profiles can lead to unexpected shifts in hue when you try to simulate a print-ready look. Ensure your source files are prepared correctly to maintain color accuracy within the mockup.
- Overlooking Background Customization: Some mockups come with fixed backgrounds that do not suit your brand identity. Fortunately, many high-quality templates offer changeable background-color options. Failing to utilize this feature can make your presentation look generic rather than tailored to your specific project needs.
- Assuming All Files Are Editable: Not every "mockup" is a fully editable PSD. Some are flattened images that require complex manual editing. Always confirm that the file format is PSD with active smart-object layers before purchasing or downloading.
Making these mistakes can lead to wasted hours of rework, poor client impressions, or even the need to start over. For instance, if you present a brochure with stretched text because you ignored the aspect ratio, the client may question the precision of your entire design suite. Conversely, taking the time to adjust the background and ensuring the resolution is pristine demonstrates a level of professionalism that builds trust.
Evaluating Your Choice Before You Commit
Before you begin using an A5 Bifold Brochure Mockup, take a moment to evaluate the resource. Is there a PDF help guide included? Documentation is often the difference between a smooth experience and frustration. A good guide explains how to access smart objects, how to change background colors, and what software version is required. Without this support, even experienced users can waste valuable time troubleshooting basic functions.
Additionally, consider the versatility of the mockup. Does it allow for easy swapping of designs on both the front and back covers? Can you modify the paper texture or lighting conditions? The best mockups provide flexibility, enabling you to create multiple variations of the same presentation to show different concepts to clients. Remember that the photos used in preview galleries are for illustration purposes only; they serve as inspiration, but the actual value lies in the customizable layers within the file itself.
Practical Tips for Efficient Workflow
To maximize the utility of your mockup, organize your layers logically before applying your design. Name your smart object layers clearly so you can easily identify which one corresponds to the front cover versus the inside pages. If you are working on a tight deadline, prepare your designs in a separate document first, then drag and drop them into the mockup's smart object. This method prevents accidental damage to the original template structure.
Furthermore, always export your final mockup in a high-quality format. If you are sharing it online, a PNG with transparency is often better than a JPEG, as it preserves the crisp edges of the brochure against any background you choose. If you plan to print the mockup for a physical presentation, ensure your output settings match the 300 dpi requirement to avoid grainy results.
Conclusion: Elevate Your Design Presentation
Choosing the right tools is just as important as the design itself. An A5 Bifold Brochure Mockup is more than just a decorative frame; it is a strategic asset that enhances communication and clarity. By understanding the importance of smart objects, respecting resolution standards, and avoiding common setup errors, you can transform your digital files into compelling visual stories. Whether you are a freelancer pitching to a new client, a business owner launching a campaign, or an educator creating course materials, investing time in learning how to use these mockups effectively will pay off in the quality of your presentations. Take the time to explore the features, follow the guides, and let your designs shine in a realistic, professional light.